Stuart's EPROM Emulator
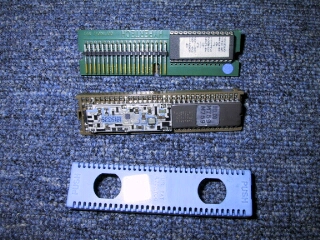
My Memcal, the Race chip adapter is at the top.
My car is currently running on a race chip which has it's own quirks and problems, and due to other modifications (Injectors), I cannot use the updated S4S versions that have been tweaked by Andy Whittaker.
This project was started after deciding to reverse engineer the code in my ECU, as a means of easily changing the settings and tables without burning new ROMs (chip) every time. Commercial emulators such as the one provided by Van Aaken Developments are very costly, and my design actually gives more features, and allows me to alter the software as needs progress.
The Emulator is an electronic circuit that replaces the ECU EPROM chip in the car. Once the code from the original EPROM is loaded into the Emulator, the car runs on the Emulator from then on. The emulator can remain in the car, permanently connected if so desired, and the car can be used as always. When changes need to be made, the emulator is connected to a laptop computer and updated as needed.
Some of the features of my Emulator:
1. Replaces 27C256 or smaller EPROMS. The design is scalable for larger ROM sizes.
2. Currently supports EEPROM or RAM memory internally, RAM being faster for live changes.
3. Power consumption is quite low for keeping the memory in the RAMs while the car is parked. No power is needed when using EEPROMs.
4. The Emulator uses a single parallel port cable to connect to a computer. Power is supplied by the car's electrical system.
5. The emulator can write the entire ROM code in well under a second, and updates are instantaneous.
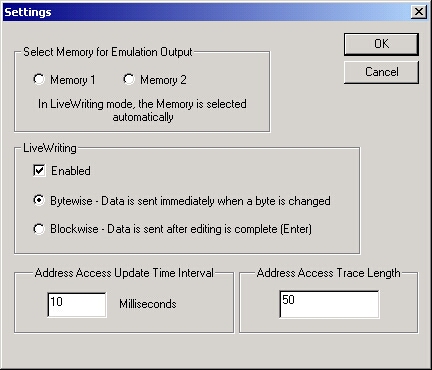
6. The design allows for live changes, meaning the code can be changed while the car is RUNNING! Even complete reloads can be done (as long as the operational program is the same.. tables can be changed).
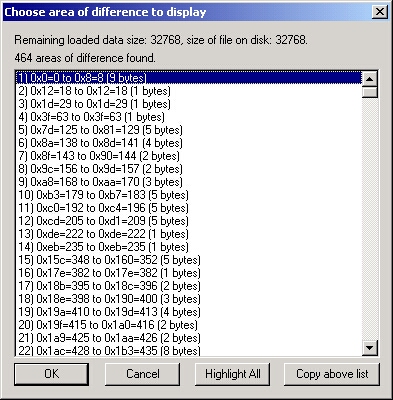
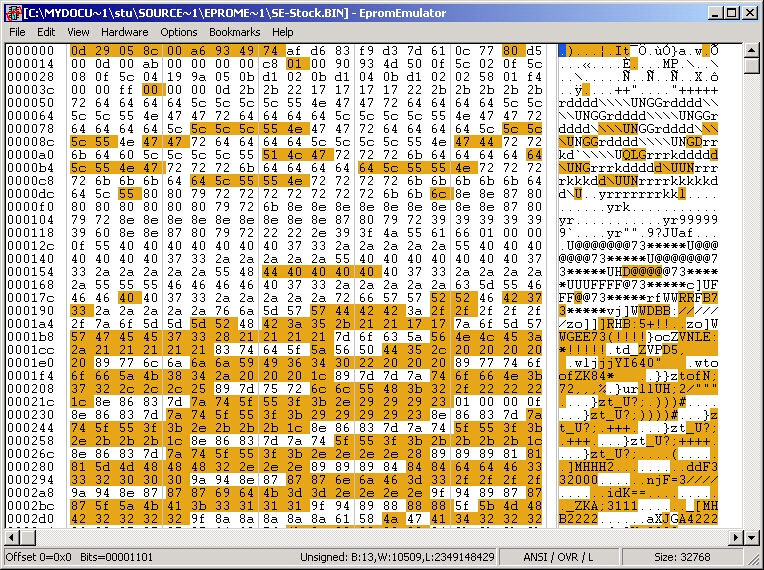
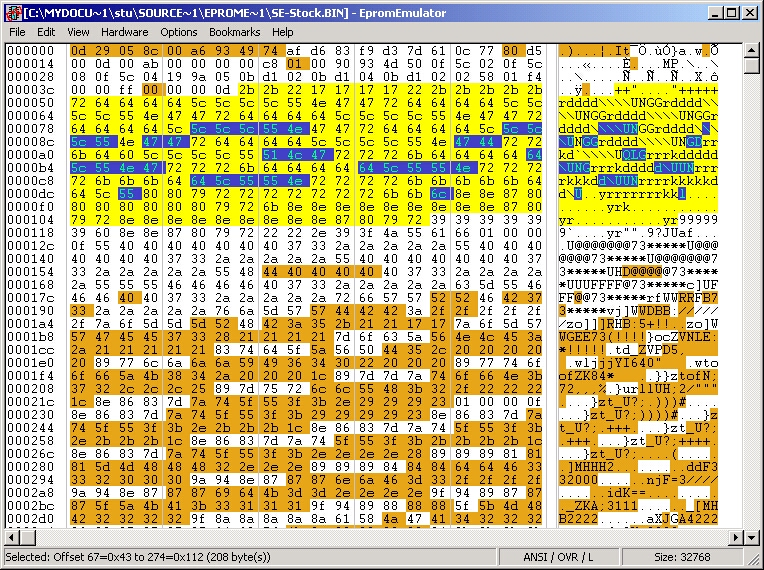
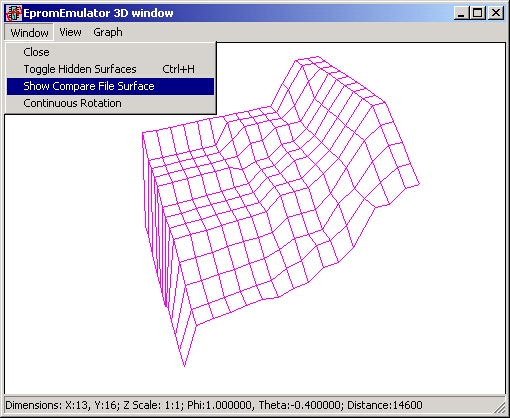
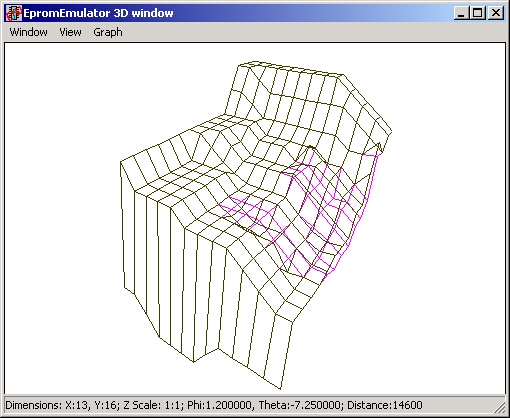
7. The Emulator can report back on accessed addresses from the ECU, so you can actually see where the car is reading from in the code.
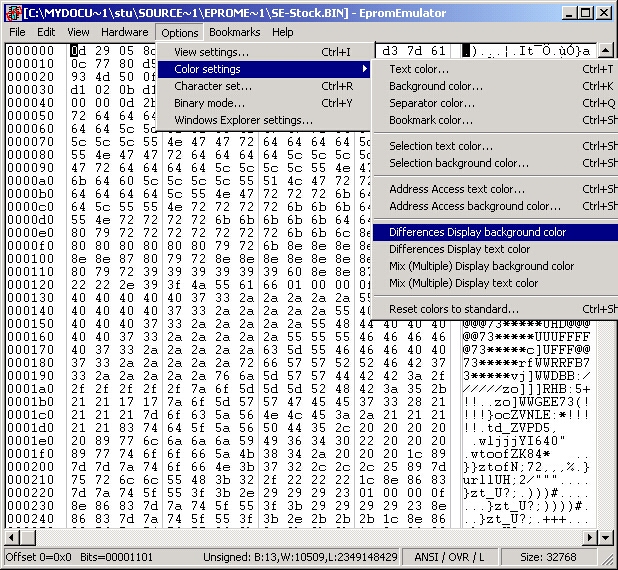
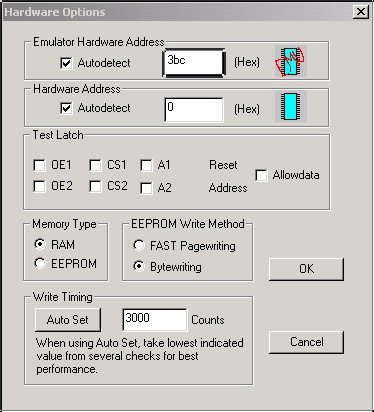
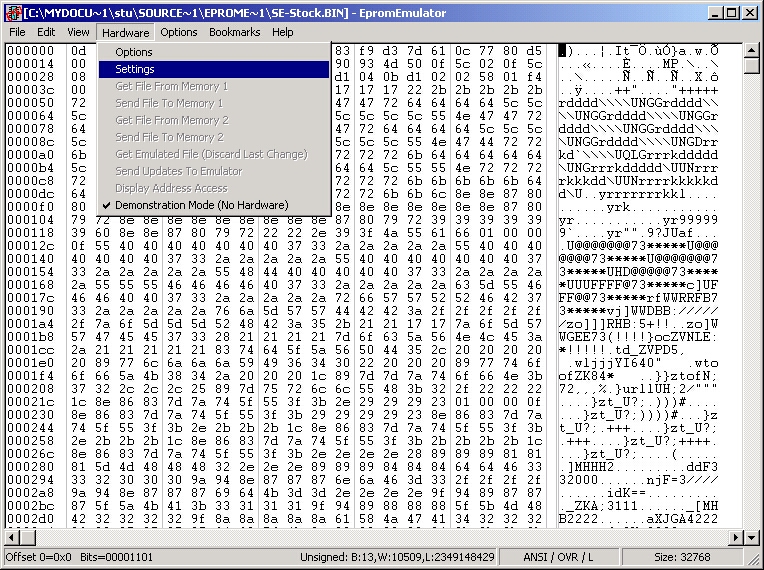
8. The software is written in Visual C++ 6.0. Details are shown below.
9. A second version of the software is written in QuickBasic (simple read/write) for use on very old laptops. This was the original code... great for using the computer from my ECU monitor project to load the emulator if the car battery ever fails!
The Hardware:
Here are some images of the hardware, as mounted:


 The
softare editing portion is based on the excellent free hex editor
The
softare editing portion is based on the excellent free hex editor